There are three kinds of geeks at Gridcognition: energy geeks, data science geeks, and software geeks.
This is some text inside of a div block.

In this blog post I will walk through how you connect secrurely to MongoDB Atlas with AWS Lambdas through IAM roles.
Integrations are surprisingly hard to do, nothing is more frustrating than spending hours trying to implement something with incomplete, or worse, incorrect documentation leading to wasted effort. Often it is a small mistake that is difficult to detect. This occurred while writing the post when I didn’t encode the secret key and it resulted in an annoying generic unauthenticated error message. This is when the community can help through blog posts, code examples in Github, or the classic Stack Overflow post. However, there are always gaps because there are so many technologies and ways to use them. We at Gridcog want to add a little something back to the community that has helped us immensely.
You can use username and password for authentication, but the problem is you now have to manage secrets in your system. This might not always be a concern but for us building a production system we prefer not to have this burden. The other advantage of IAM roles is that it allows fine grained access control, you can specify exactly what services can access MongoDB and can easily revoke their access.
As expected, this adds a bit of implementation complexity, but that’s the trade off for having better security. We use Lambdas because it is one of the easiest ways to get your code from your local machine to the cloud – but you can swap it out for other AWS services such as EC2 or ECS.
1. Create the IAM Role
We are using Serverless here to define our AWS resources as code. You can create this IAM role however you like – through UI or
cloud formation templates, etc. – but we would recommend using IaC when possible so you can reproducibly create resources,
particularly useful when you are separating environments out with different AWS accounts.
The important part to note is the Principal here we are just allowing any service in the AWS account to be able to assume this role.
But you can lock this down further perhaps only allowing certain IAM roles or IAM users.
This will allow any service with the IAM role to access the specified clusters which you defined when creating the database user.

We use an environment variable for MONGODB_ACCESS_ROLE_ARN and MONGODB_CLUSTER_NAME so we can easily change this depending on the environment. You will want to use different IAM Role and cluster for prod and dev to keep production locked down, to keep customer data safe.
We need to watch for connection limits. If we were to make a new connection every function call we would quickly reach it. That is why we cache the client so we don’t create new connections every time we call getMongoClientWithIAMRole().
The only involved step is creating the connection string so we will add a test to ensure other devs modifying this code don’t break it in an unexpected way.
We mock out the external dependencies mongodb and aws-sdk because we only want to test our code. We put an assertion on the connection string so that any changes to it will break the test and cause the dev to have a closer look at why the test failed.
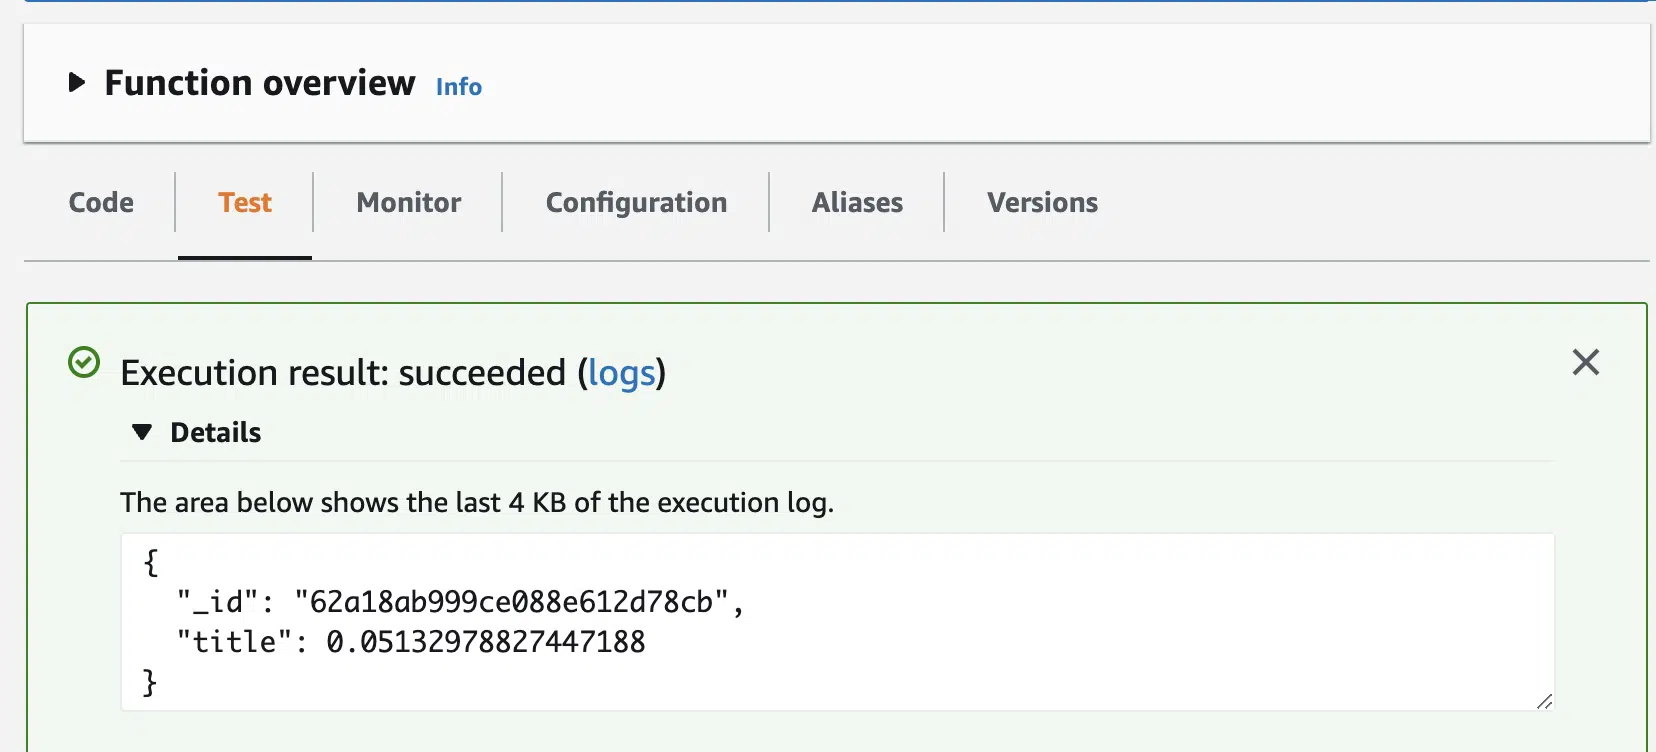
Hopefully you have now successfully deployed a Lambda that is making read and write operations to MongoDB. This is just the start of integrating MongoDB into your stack, as alluded to earlier in practice service limits are important considerations.
It is very easy to hit a connection limit where suddenly your whole system is broken. Some ideas to prevent this include having a single lambda/server which makes connections to MongoDB so you can control the number of open connections. Additionally, a caching layer or queues can also help – queues help control the number of concurrent requests. Latency is another consideration, the initial connection to MongoDB can be very slow ~ 2 seconds, you wouldn’t want this overhead on every request so it is important to avoid this. Finally, the last tip we want to share is, you should host the MongoDB cluster in the same region as your AWS account.
Best of luck in your AWS and MongoDB journey!


There are three kinds of geeks at Gridcognition: energy geeks, data science geeks, and software geeks.

Amazon provides a managed GraphQL service called AppSync. GraphQL supports queries, mutations and also this nebulous concept called subscriptions—these allow participants to observe other mutations as they happen.